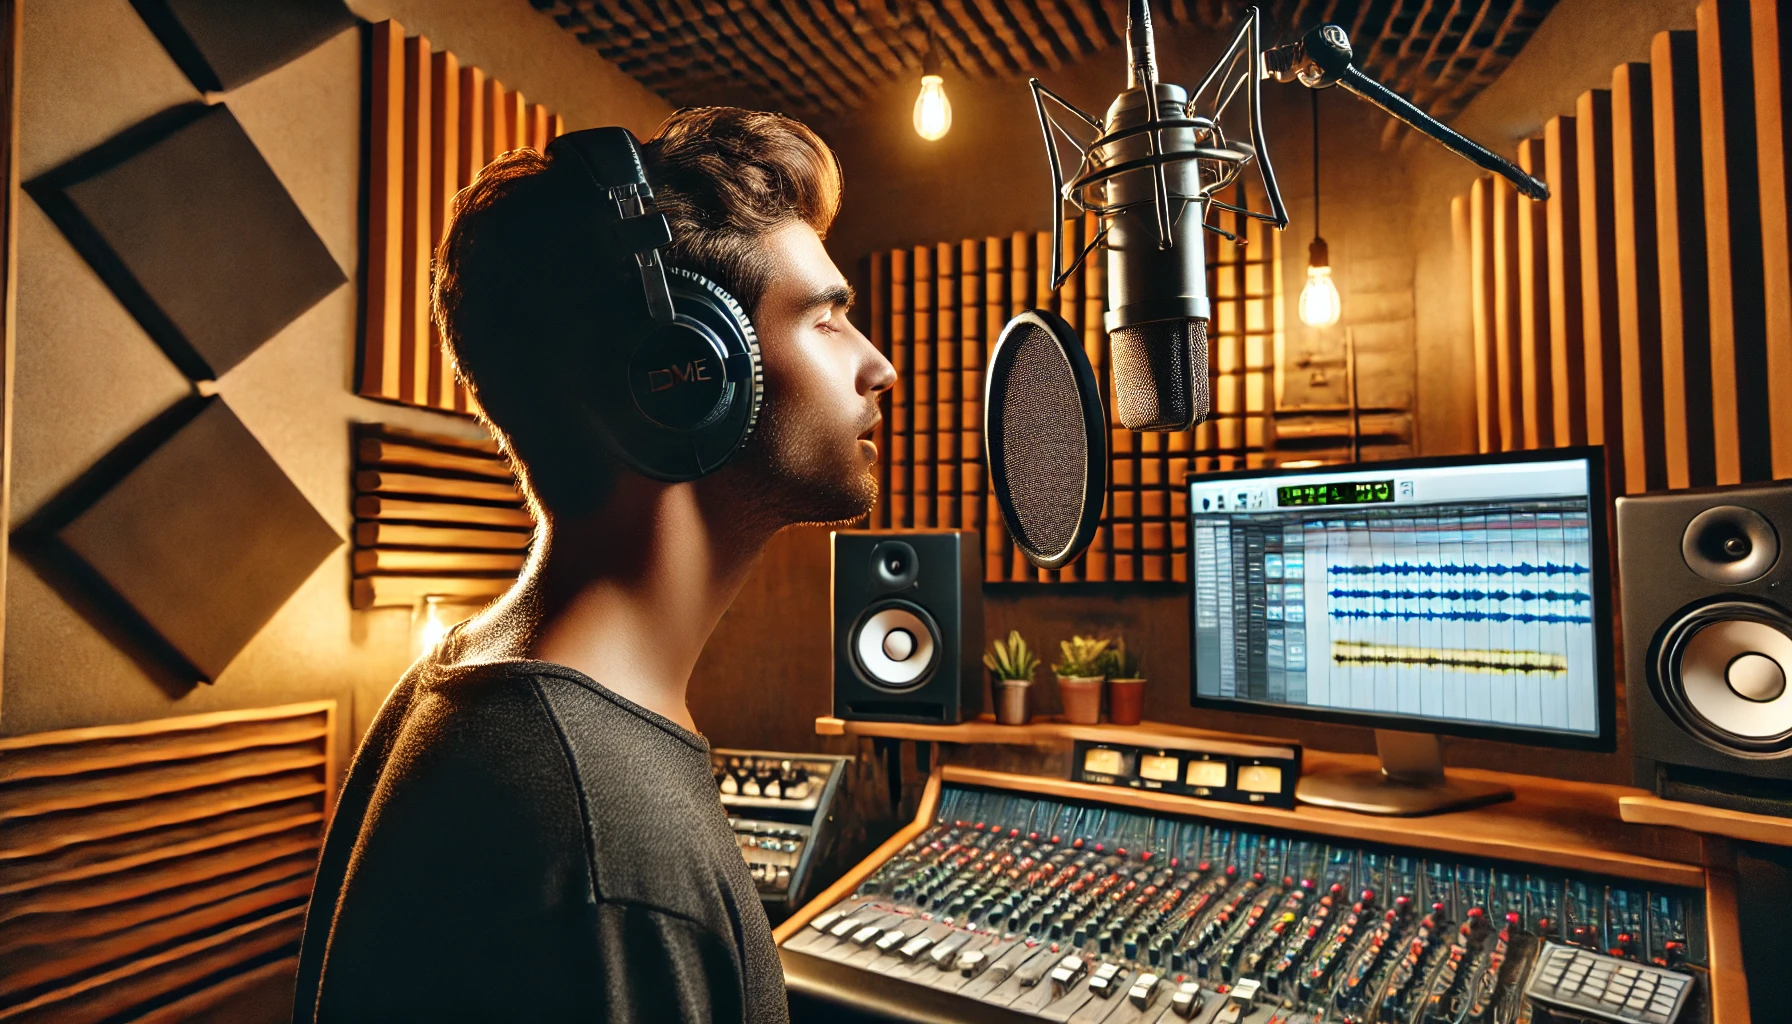
How to Get the Best Vocal Recording in a Studio

Getting the best vocal recording in a studio requires a combination of proper technique, gear, acoustics, and attention to detail.
1. Select the Right Microphone
Condenser microphones are usually the best for studio vocals because they are sensitive and clear. They capture a wide range of frequencies, making them ideal for voice recordings.
There are many popular options, including the Neumann U87, Audio-Technica AT2020, or Rode NT1-A. Each has its own sound character, so it’s worth experimenting to find one that suits the vocalist’s voice.
2. Use a good Quality Audio Interface
The audio interface converts the mic’s analog signal to digital. A good-quality audio interface will give you a clean, uncolored signal.
Focusrite Scarlett and Universal Audio Apollo are popular options. Make sure the interface has phantom power (if using a condenser mic) and enough input channels for your setup.
3. Acoustic Treatment is Key
A dry, controlled room is essential for professional vocal recordings. Ensure your studio is acoustically treated to avoid unwanted reflections and room noise.
Bass Traps for the low end.
Acoustic Panels for mid and high frequencies.
Reflection Filters or Portable Vocal Booths (such as the sE Electronics Reflexion Filter) can help isolate even further from room noise.
Do not record in untreated rooms with bare walls as this will produce some screeching reverb and unwanted reflections.
4. Proper Mic Placement
Distance from the Mic: The singer needs to be kept approximately 6-12 inches from the mic, but this all depends on the vocalist and the mic.
This can bring a closer, more direct sound.
A little more distance reduces plosives and harshness.
Angle and Placement: Position the mic about one inch from the singer’s mouth. Angle the mic off-axis slightly if necessary, where you might be getting too much breath noise or plosive noises. A pop filter is also vital for avoiding unwanted popping sounds on “P” and “B” sounds.
5. Use a Pop Filter
A pop filter (or windscreen) reduces plosives (harsh “P” and “B” sounds) and prevents moisture from reaching the mic.
It is a simple tool but an essential one for smooth, professional vocal recordings.
6. Monitor with Headphones
Use closed-back headphones to prevent the sound from your headphones from bleeding into the mic during the recording.
High-quality headphones like the Audio-Technica ATH-M50x or Sennheiser HD 280 Pro are often used for precise monitoring.
7. Set Gain and Levels Properly
Set the gain on your audio interface or preamp: not too high nor too low, which gets noisy.
For your loudest vocal peaks, you want those to hit between -6 dB and -3 dB on your DAW metering, so you have tons of headroom in mixing.
8. Preamp Quality
A good preamp adds warmth, depth, and character to your vocals. Many audio interfaces have a built-in preamp, but a standalone preamp like the Universal Audio 610 or Neve 1073 can add extra color to your sound.
If you are on a tight budget, then many affordable interfaces still have a decent preamp, such as those from Focusrite or PreSonus.
9. Vocal Performance
Comfort is Key: Make sure the vocalist is comfortable and confident. If they are not feeling at ease, it will show in the performance.
Warm Up: Get the vocalist to warm up his or her voice before recording so as not to strain the vocal cords and to get the best performance.
Take Multiple Takes: Don’t be afraid to take several takes. Sometimes the best take might come from a performance that feels natural and relaxed.
Keep Hydrated: Singers should maintain hydration but avoid drinking too much water immediately before recording as it may cause a bloated stomach or even exhaustion.
10. Room Preparation
Acoustic Isolation: Make sure that the recording room is isolated from ambient noise. If acoustic isolation is not feasible, use baffles or other additional soundproofing materials.
Keep the acoustic room “dead.” If you don’t have acoustic panels, you can use heavy blankets to reduce some of the reverberations and reflections.
11. Record at Right Bit Depth & Sample Rate
Bit Depth: Set DAW to capture music at 24-bit since this will encompass a much wider dynamic range than 16-bit that will result in greater details and clarity when listening back.
Sample Rate: Most often, 44.1 kHz or 48 kHz is fine; 96 kHz or 192 kHz should be used if you really want high-quality recordings.
12. Test for Noise Floor
Eliminate unnecessary disturbance or extra noise in your studio like fans, ac, or outside noises. Switch off any noisemakers from electronics and machines.
13. Comping and Editing
After getting the recording of your takes, you will be able to combine the best sections of each performance with comping. It is helpful especially when you want to get the best vocal line that can come out of several attempts.
Clean up all breaths, lip smacks, and any other noise with editing tools within your DAW.
14. Post-Production and Mixing
Apply EQ, compression, and other effects in post-production to make the vocals sit well within the mix. Make subtle adjustments in EQ carving out space and making it more clear.
De-essing: Reduce harsh “S” sounds using a de-esser.
Reverb/Delay: Add tasteful reverb or delay to make the vocals sound more natural and immersive.
15. Take Breaks
Vocals can be taxing on the voice, so ensure that the artist takes regular breaks, especially during long sessions. This helps maintain the quality of the performance and ensures that the vocalist doesn’t strain their voice.
Have Any Question?
- +91 96004 74627
- book@newparadisestudio.com
Categories
- 192, Driver colony, venkateshwara colony, Pattabiram, Chennai, Tamil Nadu 600072
- book@newparadisestudio.com
- +91 96004 74627
Quick Links
- About Us
- Services
- Studio
- Contact
Useful Links
Copyright © 2025. newparadisestudio.com